
Making blog
Where the wire is joined I’ve added milliput, which is like a clay that dries really solid, it helps to make the structure nice and strong.
This is the wire armature structure that goes inside the model so that it can be positioned in different poses to make the character look like it’s moving when it is animated.
This is the papier-mâché going onto the face so that it can create a lightweight face - once dry I’ll peel off the papier-mâché and remove the clay as the clay is quite heavy.

The most tricky part of bringing Alice's amazing invention to life is working out the mechanism for the conveyor belt and the wind turbine. The exhibition is going to be running for almost 4 months so the mechanical element needs to be very robust and well tested so as not to wear out or break down.
The first step was to draw out the wind powered conveyor belt system before ordering the parts and starting to build it. Here is a digital CAD drawing of the model done on a computer programme called Fusion 360.
I added to the turbo wheel and put Joey's original drawing on the tank.
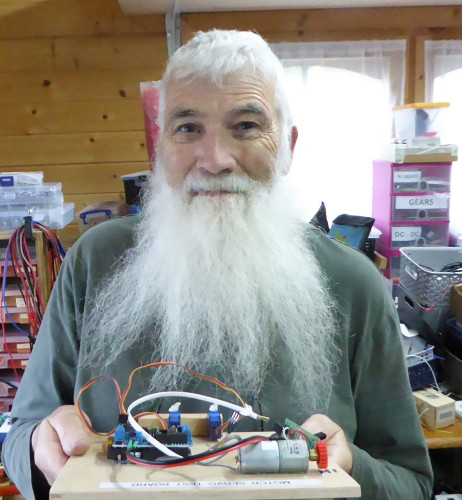
The generator/gearbox have been improved to increase volts. It can be demonstrated without water by just spinning the wheel clockwise. Water demos are messy even with the large plastic box to catch the water. You will also be constantly filling up the tank and emptying the catch box!
This is the start of the pastercine sculpt - I'll be using this is a base to papier-mâché over the top. Plastercine is quite heavy and I need the model to be nice an light so its easy to animate. I have used wooden beads for where the eyes will be. They have a hole in them so they will be able to move.
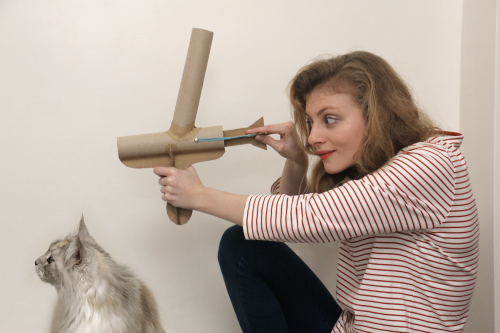
This is my first post, I'm going to be making Bo's fantastic Auto Shivering Heating Device as a model and stop motion animation - I think Bo's idea is very clever and I know I could definitely use it to warm me up as I'm always complaining when I'm chilly! Bo has drawn a really good drawing of the person using the device so I'm going to plan out what size to make it and then start off making the head out of plastercine.
I have enjoyed making the Toilet Turbine and it is not far from being finished. Here is a video of the prototype in use at this stage. Version 2 is the final version.
My Version 2 solution has a turbo wheel mounted on ball bearings (to make it free turning) with 8 empty baked bean tins to catch the waste. Although all testing has been done using clean water, the system is designed to be capable of dealing with all types of waste.
The turbo wheel turns quite slowly so I needed to speed up the generator shaft using some gears. A voltmeter connected to the generator shows the voltage being generated as it turns. There was much testing to get everything working. It has probably taken 40 hours of perseverance.
The wonderful idea from Joey to make electricity from sewage raises a number of challenges. The most important is dealing with what is flushed down a toilet. Not only human waste but also lots of other things, so the turbine has to be able to deal with everything! Clearly filters will not work as they will need constant cleaning.
My first idea was to put the waste into two buckets attached to a string. These would alternately move up and down with the generator attached to the pulleys. The water is supplied by a plastic box supported on a wooden structure and controlled by a standard toilet flush. My Version 1 bucket system worked but then I had a better idea!